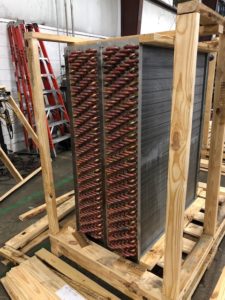
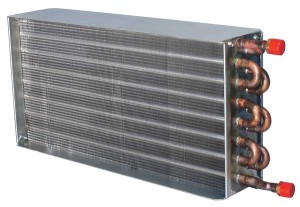
For HVAC professionals, replacing Carrier chilled water coils is a task that demands precision. One miscalculation in dimensions, connection types, or circuit configurations can turn a straightforward replacement into a significant challenge, leading to delays and complications like compromised airflow or customer callbacks.
Why Precision Is Critical
Carrier chilled water coils are engineered with extremely precise specifications. Even the slightest deviation can result in issues such as:
- Airflow Restrictions: A poor fit can obstruct air movement, affecting system efficiency.
- Inefficient Heat Transfer: Suboptimal coils may lead to inadequate cooling performance and increased energy costs.
- Connection Misalignment: Mismatched connections complicate the installation process and can lead to leaks or failures.
- Extended Installation Times: Inaccuracies often necessitate additional rework, wasting valuable time on the job site.
It’s crucial to explain the importance of attention to detail to your clients. A so-called “replacement” coil that doesn’t meet specifications can inadvertently introduce new problems rather than solving the existing ones.
The Capital Coil Advantage
In the world of HVAC, many coil manufacturers overlook the significance of these specifications, opting for oversimplified solutions that can create headaches later on.
Here’s where Capital Coil steps in. Whether you have: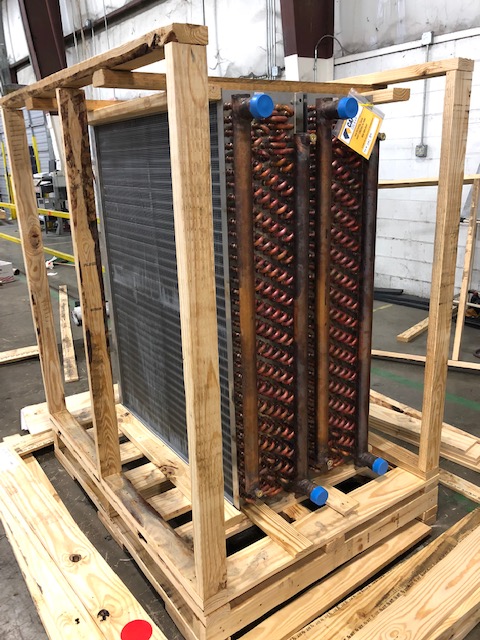
- A clear model tag
- A partial number
- Or even just a worn-out coil
We have the expertise to provide a reliable solution. Our team has extensive experience manufacturing the coil types you depend on daily, ensuring you receive high-quality products.
Cross-Referencing Capabilities
In many cases, we can cross-reference Carrier coil models accurately, thanks to our comprehensive manufacturing history. If direct cross-referencing isn’t feasible, we can also work from the drawings you provide, creating a custom solution that meets your precise requirements.
Take-aways
Replacing a Carrier chilled water coil doesn’t have to be a gamble. By collaborating with Capital Coil, you gain a reliable partner who understands the critical elements of the job: ensuring a perfect fit, optimizing performance, and getting the installation right the first time.
For additional information or to discuss your specific coil replacement needs, feel free to reach out to the Capital Coil team. Let us help you streamline your projects and enhance your HVAC services!
RELATED POSTS
Looking For A Trane Replacement Coil
CATEGORY SUCCESS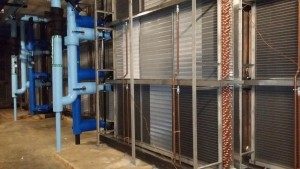


