Guidelines For Air Velocities

The height, length and resulting air velocities greatly figure in everything in determining the size and performance of a coil. Step # 1 in determining the size and performance of a coil is dependent upon understanding face & air velocities of air across the coil. Whether you use CCA’s coil selection program to help size the coil, or you are replacing an existing coil; the height, length and resulting velocity determine everything.

Hot Water Booster Coils

air velocities

Every coil has a specific, optimum velocity, so you want to make sure you are within 30% (+ or -) of that number. For example, booster coils have an optimum velocity of 800 ft/minute. That means that you can drop your velocity to 600 ft/minute, or conversely, increase the velocity to 1,000 ft/minute. The duct velocities are almost always higher, which means that you will need to transition to a larger coil. Try to get to as close to 800 ft/minute as possible, while sizing your coil to make the transition as easy as possible. Everything with coils is a balancing act.

Hot Water & Steam Coils

Like booster coils, hot water and steam coils should also have face velocities at approximately 800 ft./minute. Both steam & hot water coils have only sensible heating, which is why their face velocities can be the same. Face velocities ultimately control the coil’s cost, so 800 ft./minute really is a heating coil’s “sweet spot”.

If you are purchasing an air handler unit, oftentimes the heating coil is smaller than the cooling coil because the face velocities on heating coils can exceed those of cooling coils. Due to water carry-over, cooling coils cannot exceed 550 ft/minute, while heating coils only deal with sensible heat.

Chilled Water & DX Coils

Due to the limited face velocities of cooling coils, your choices are more limited. With cooling coils, your face velocity must be somewhere between 500 ft./minute-550 ft./minute. Remember that when dealing with cooling coils, you are dealing with both sensible and latent cooling, so the coil is wet. When you exceed 550 ft./minute, water carry-over occurs past the drain pans.

If you are purchasing an air handler unit, you probably will not have worry about the coil’s face velocity as most coils come pre-sized at the acceptable face velocities. Fan coils also come pre-sized with the correct CFM’s. However, if you are replacing an existing cooling coil, the face velocity must remain at or below 550 ft/minute!!

 Air Stratification Across The Coil

Air does not travel equally across the face of a coil. If you were to divide a coil into (9) equal sections, like a tic-tac-toe board, you would see a high percentage of air travelling through the center square, rather than the corner squares. In a perfect air flow scheme, 11% of the air would travel through each of the 9 squares, but that is not what happens. Because more air travels through the center of the coil, you want to avoid putting a fan too near the coil. Due to central air flows, most systems are draw-thru, rather than blow-thru. This is also why you want to avoid installing your coil near any 90 degree angles/turns in the ductwork. Avoid any situations that contribute more than the “natural” air stratification to help ensure your coil is at maximum efficiency.

In some situations involving cooling coils, you will have water carry-over even when the coil is sized correctly. How can this happen? Think about the tic-tac-toe board again. Air velocities are exceeding 700 ft./minute in the coil’s center, while the corners are around 300 ft./minute. This cannot and will not work.

Coils do not have any moving parts. They simply react to the air across the outside of the coil and whatever is running through the inside of the coil. Coils are 100% a function of your entire system, as well as the installation in general.

Capital Coil & Air is here to help with any coil selections that will help avoid costly missteps that lead to wasted time and money. Call us on your next project, we greatly look forward to working with you!

RELATED POSTS

Chilled Water, DX (Expansion) Coils & Moisture Carryover

Tips on Hand Designation & Counter-flow

Coils and Counter-flow: 5 Common Questions


Coils and Counter-flow: 5 Common Questions

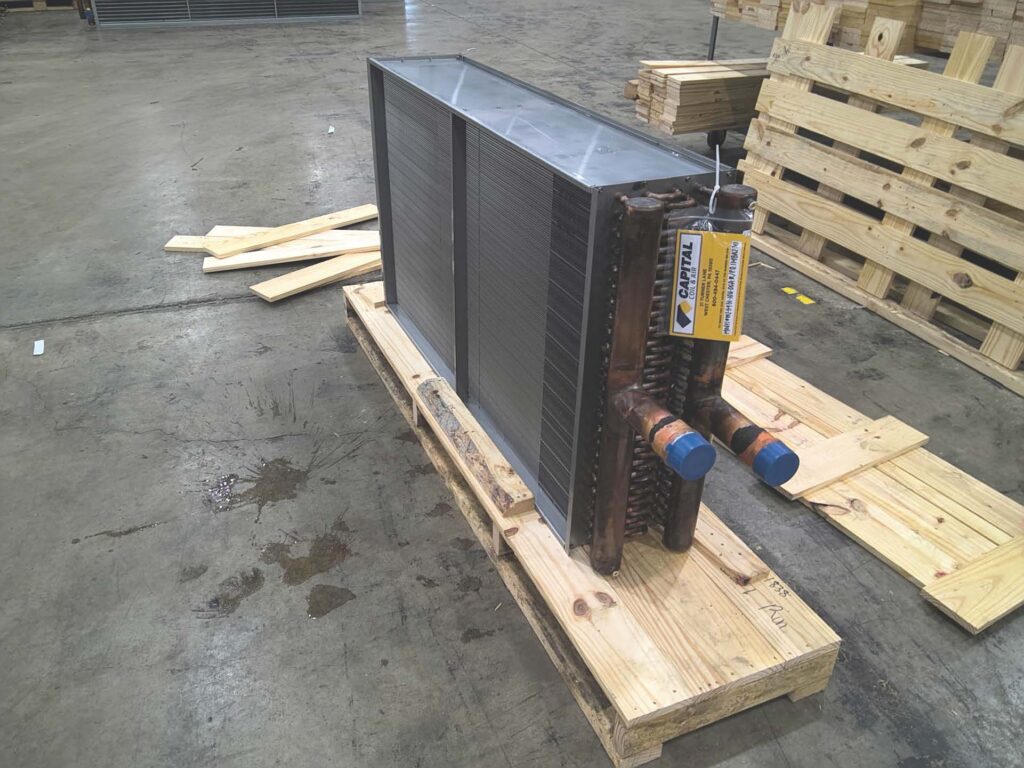
1)  Coils and counter-flow?

The first thing to remember about coils and counter-flow is that chilled water coils are always built to be piped in counter-flow. This means that the air flows in the opposite direction as the water. For example, with counter-flow, the air flows through rows 1-8, while the water runs through rows 8-1. Water always travels through the coil in the opposite direction of the air; hence the term “counter-flow.”  Direct Expansion Coils (Evaporator Coils) are also piped in the same manner.

With that said, what happens when you do not pipe cooling coils counter-flow? Almost all coil selection programs you will see or use will be based on counter-flow conditions. If you opt to not counter-flow a chilled water coil, you’ll have to reduce the coil’s overall performance by a certain percentage. That percentage reduction varies based on each coil’s unique dimensions, but a reliable estimate is a loss of 8-12%. Simply piping the coils in the correct manner from the beginning would seem to be the easiest and most cost-effective solution.

2)  Why do you feed from the bottom of the coil?

Chilled Water Coil

You always want to feed a water coil from the bottom connection so that the header fills from the bottom on up and feeds every tube connection evenly. All tubes must be fed evenly with the same amount of water. If you try to feed the header from the top, you greatly increase the risk of “short circuiting” the coil and having a higher water flow through the top tubes in the coil.

3)  What is a Water Hammer in a Steam Coil?

On a long Steam Coil, you will be hard pressed to get the steam through the length of the coil. Slowly but surely, that steam converts into condensate, which is pretty much the worst thing that can happen to any system. If not evacuated, the condensate just lays in the coil when the system is shut off. This problem comes into play when the steam is turned back on and meets the condensate laying inside the coil. In addition to the noise, the steam and condensate cause huge amounts of additional stress on the coil’s joints. As a result, over time, your coil will inevitably fail.

4)  What else happens if you do not evacuate condensate?

When you cannot or do not evacuate the condensate on long steam coils, the condensate ends up blocking the steam. A steam coil should never feel cool to the touch, but when condensate blocks steam, one part of the coil will be warm while the other will be cool. Again, that should not happen. Steam coils are interesting in that they are more dependent upon the system and installation than any other type of coil. A steam coil must be pitched to the return end of the coil. Obviously, steam is not water. Traps, vacuum breakers and other steam accessories must be installed and located properly for the system to function.

5)  Is it necessary to pipe steam and/or hot water coils in counter-flow?

Simply put – no! Circuiting a coil is only necessary to ensure the connections are on the side of the coil that you want. The rows and tubes in the coil dictate how and where you feed, but the steam supply always needs to be the high connection. This method ensures that the leaving condensate is on the bottom of the coil and below the lowest tube within the coil. Whatever else you do, know that the condensate must leave the coil!

If you have any questions or need assistance with ordering and/or installation, please contact a sales engineer at Capital Coil & Air. We will walk with you step-by-step through your entire project should you require any assistance. CALL OR E-MAIL US!  We look forward to the opportunity to work with you on your future projects.


RELATED POSTS

Tips on Hand Designation & Counterflow

Chilled Water Coils & Moisture Carryover

Chilled Water Coil Circuiting Made Easy